

If you follow my Instagram, you’re probably aware that I tend to relocate at least once a year, whether it’s due to changing countries or upgrading my living situation. While I wouldn’t necessarily recommend this lifestyle due to its inherent stress, it does come with a significant perk: the opportunity to experience different apartments and revamp my interior aesthetics repeatedly. Moreover, it has turned me into an expert in furnishing and decorating on a budget, as high-end furniture isn’t always feasible with my frequent moves. One of my favorite ways to achieve a luxurious look without breaking the bank is through DIY projects.
In this post, I’m excited to share with you one of the easiest makeovers that can be accomplished with minimal effort and a tight budget, focusing on the IKEA Songesand Dresser.
Step 1: Opt for a secondhand IKEA dresser
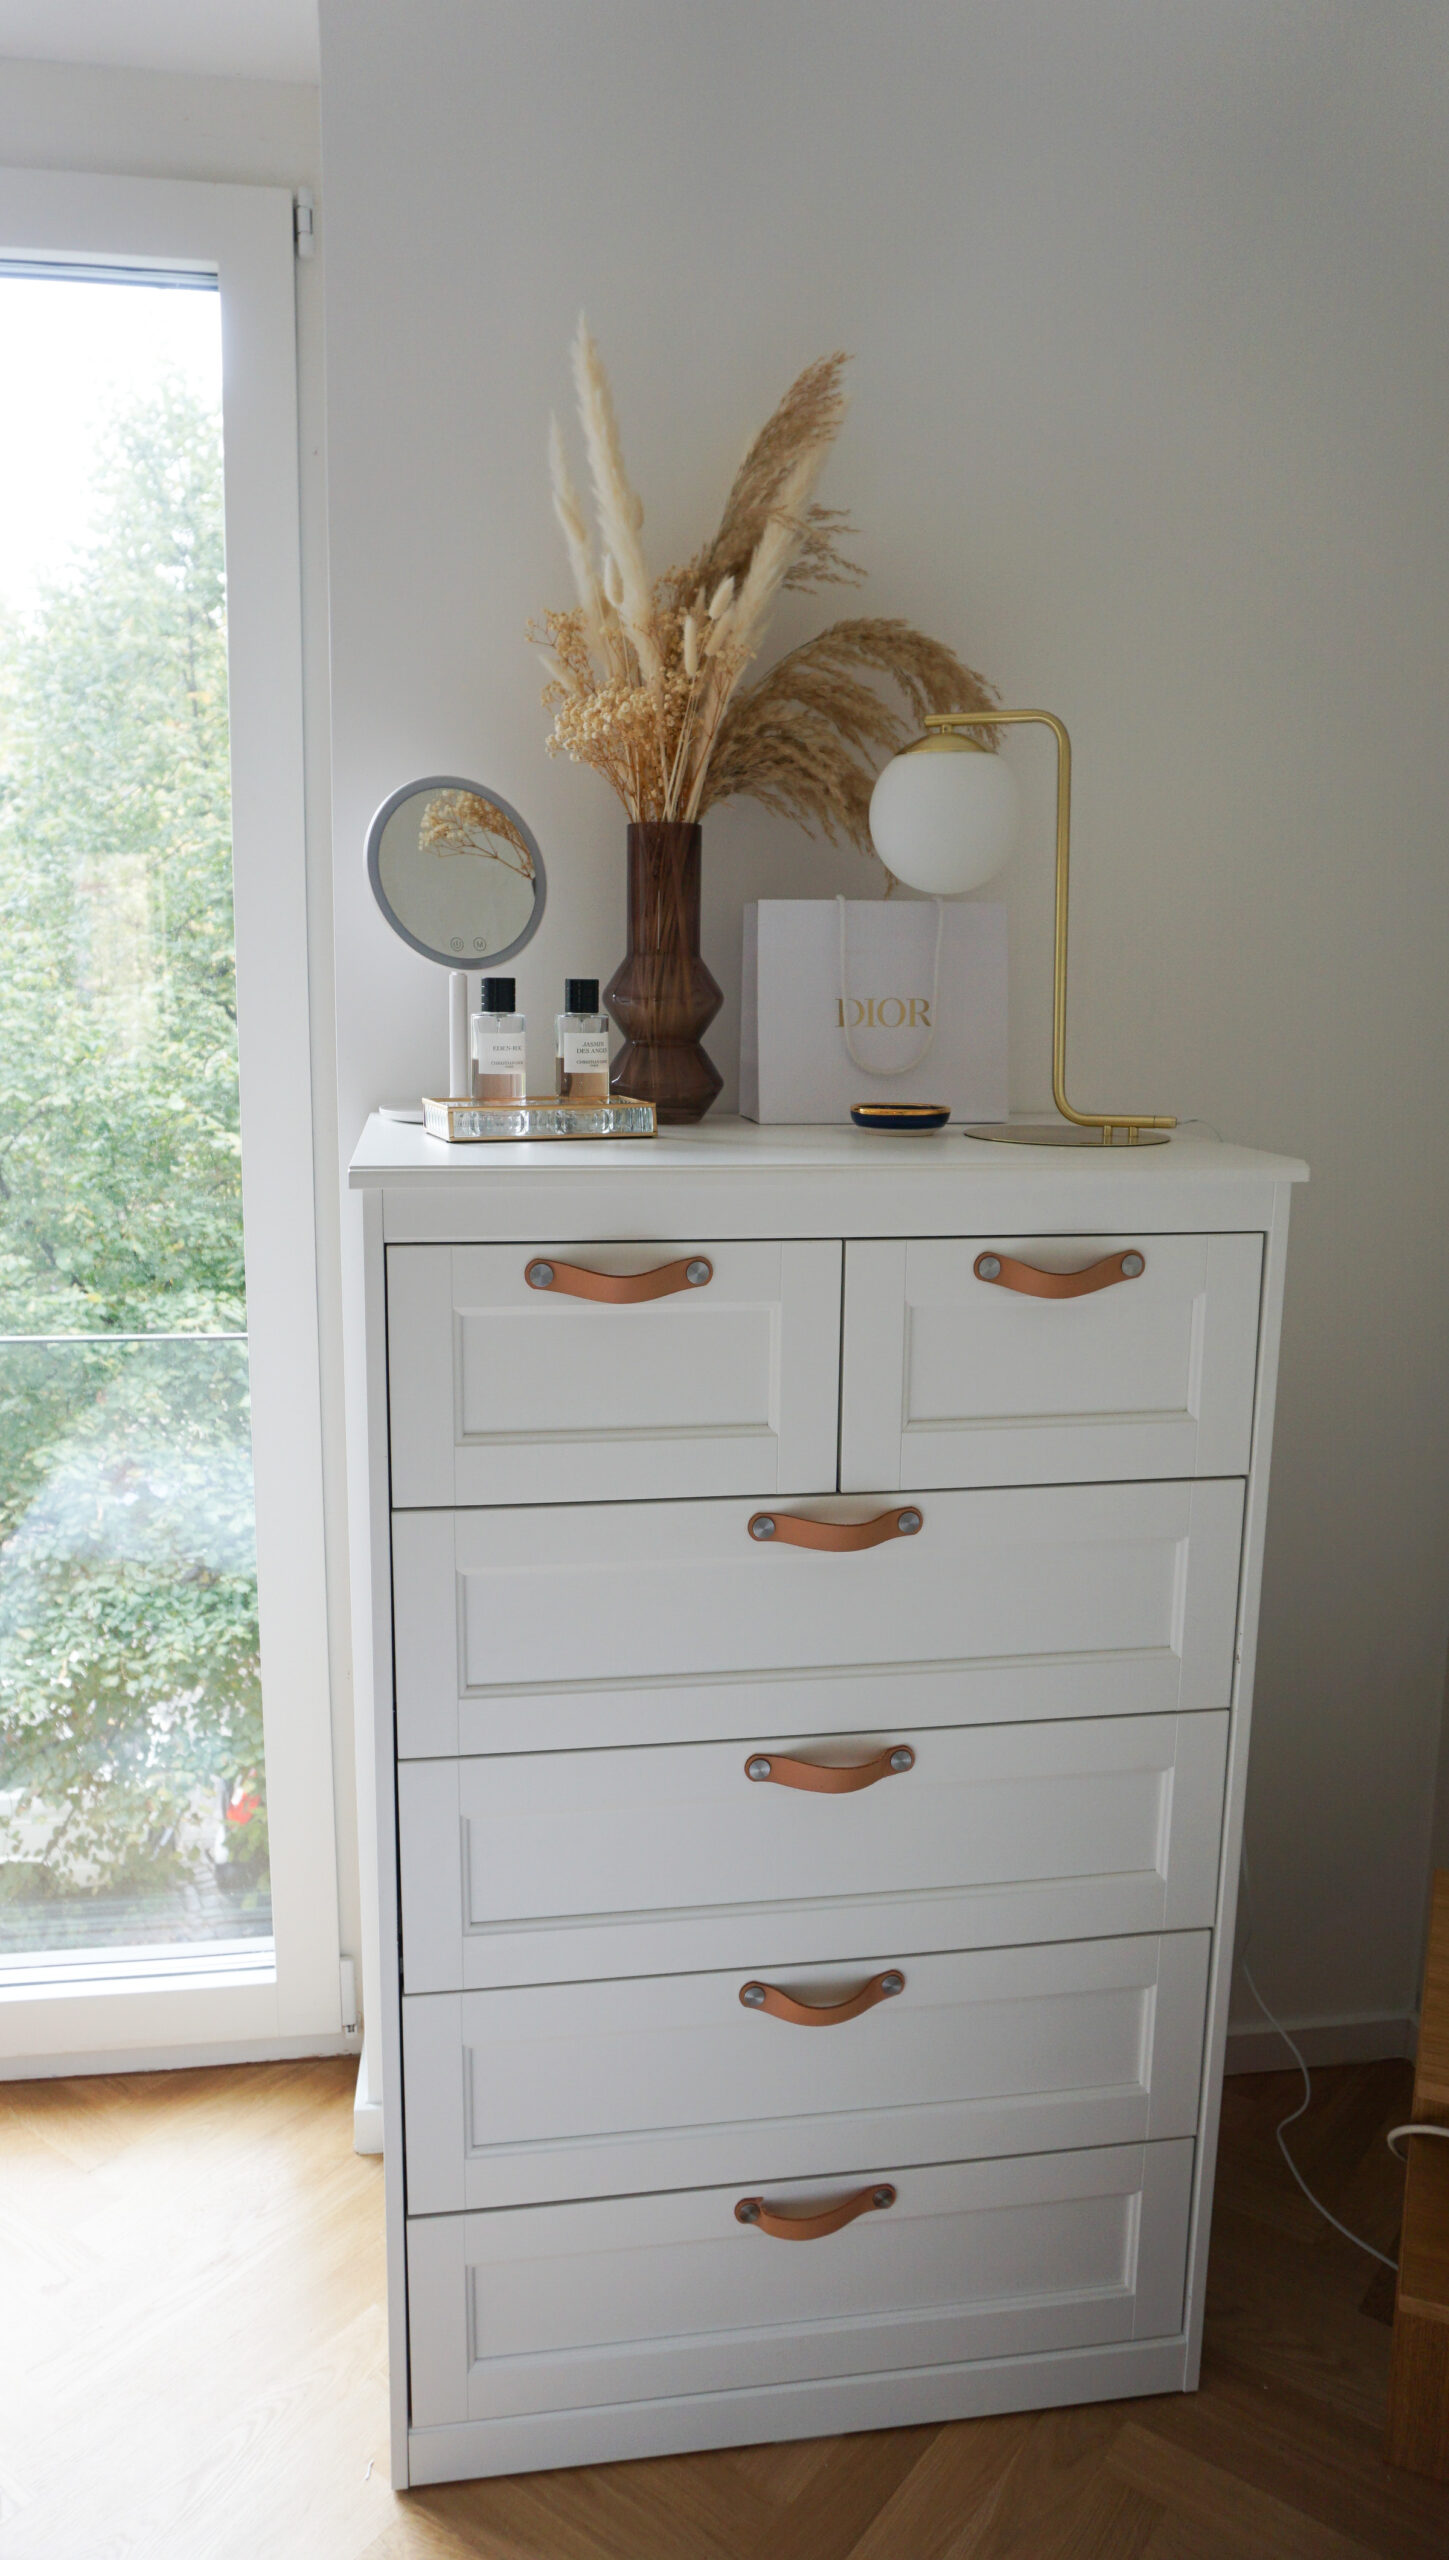
I seldom purchase IKEA furniture directly from the store. Given that many people opt for IKEA, especially frequent movers and students, you can be sure that there are individuals selling their furniture on secondhand platforms like Kleinanzeigen or Facebook Marketplace. For my IKEA dresser makeover, I acquired my Songesand dresser for €80 instead of the original €169, and it was in perfect condition, with only a few barely noticeable scratches. Just ensure you have some assistance when picking it up. In my case, the dresser came with leather handles that didn’t quite fit my style, so I decided to make some changes.
Step 2: Gather inspiration and your DIY supplies
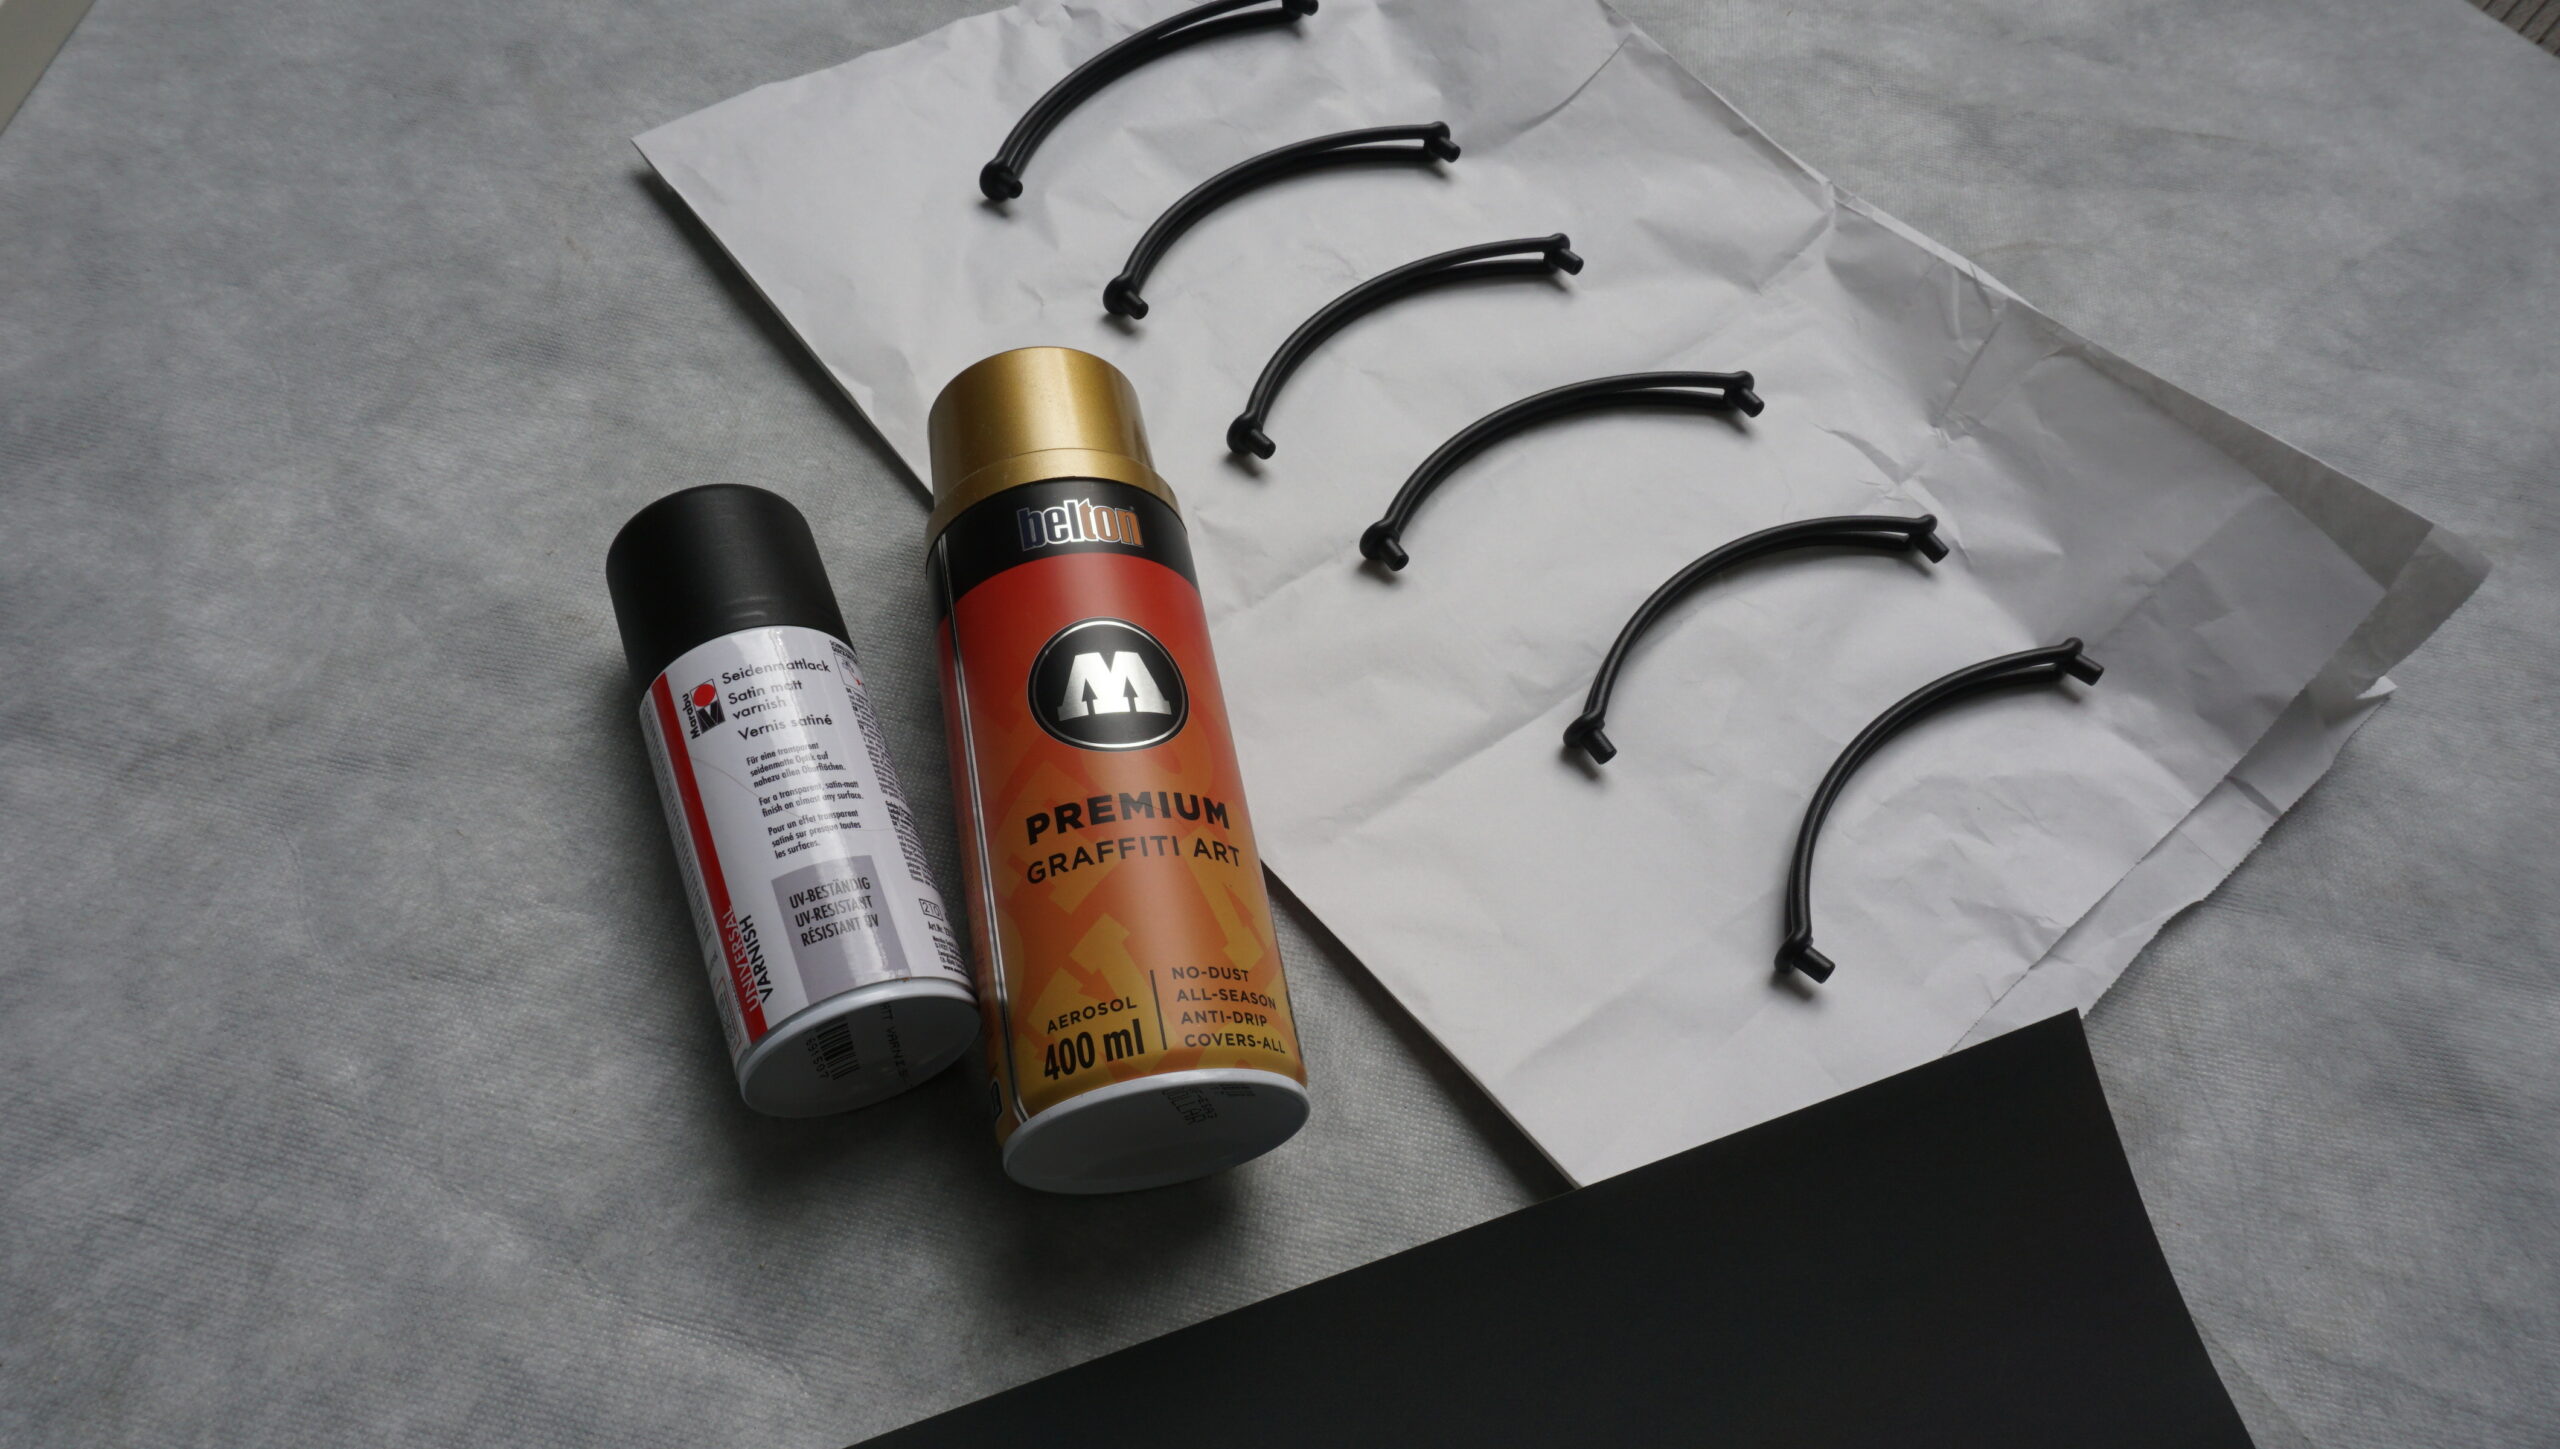
You desire affordable furniture with a touch of luxury, right? Well, the key to achieving this lies in getting your hands dirty with some DIY projects. The internet is a treasure trove of creative ideas, and I often seek inspiration on blogs via Pinterest. Once you have a vision, visit your local craft store or order the necessary supplies online. For the IKEA dresser makeover I’m presenting today, you’ll need:
- Gold spray paint for metals (e.g., this one)
- Top coat fixing spray (e.g., this one)
- Optional: fine sandpaper
- A large protective surface
Step 3: Begin your DIY session
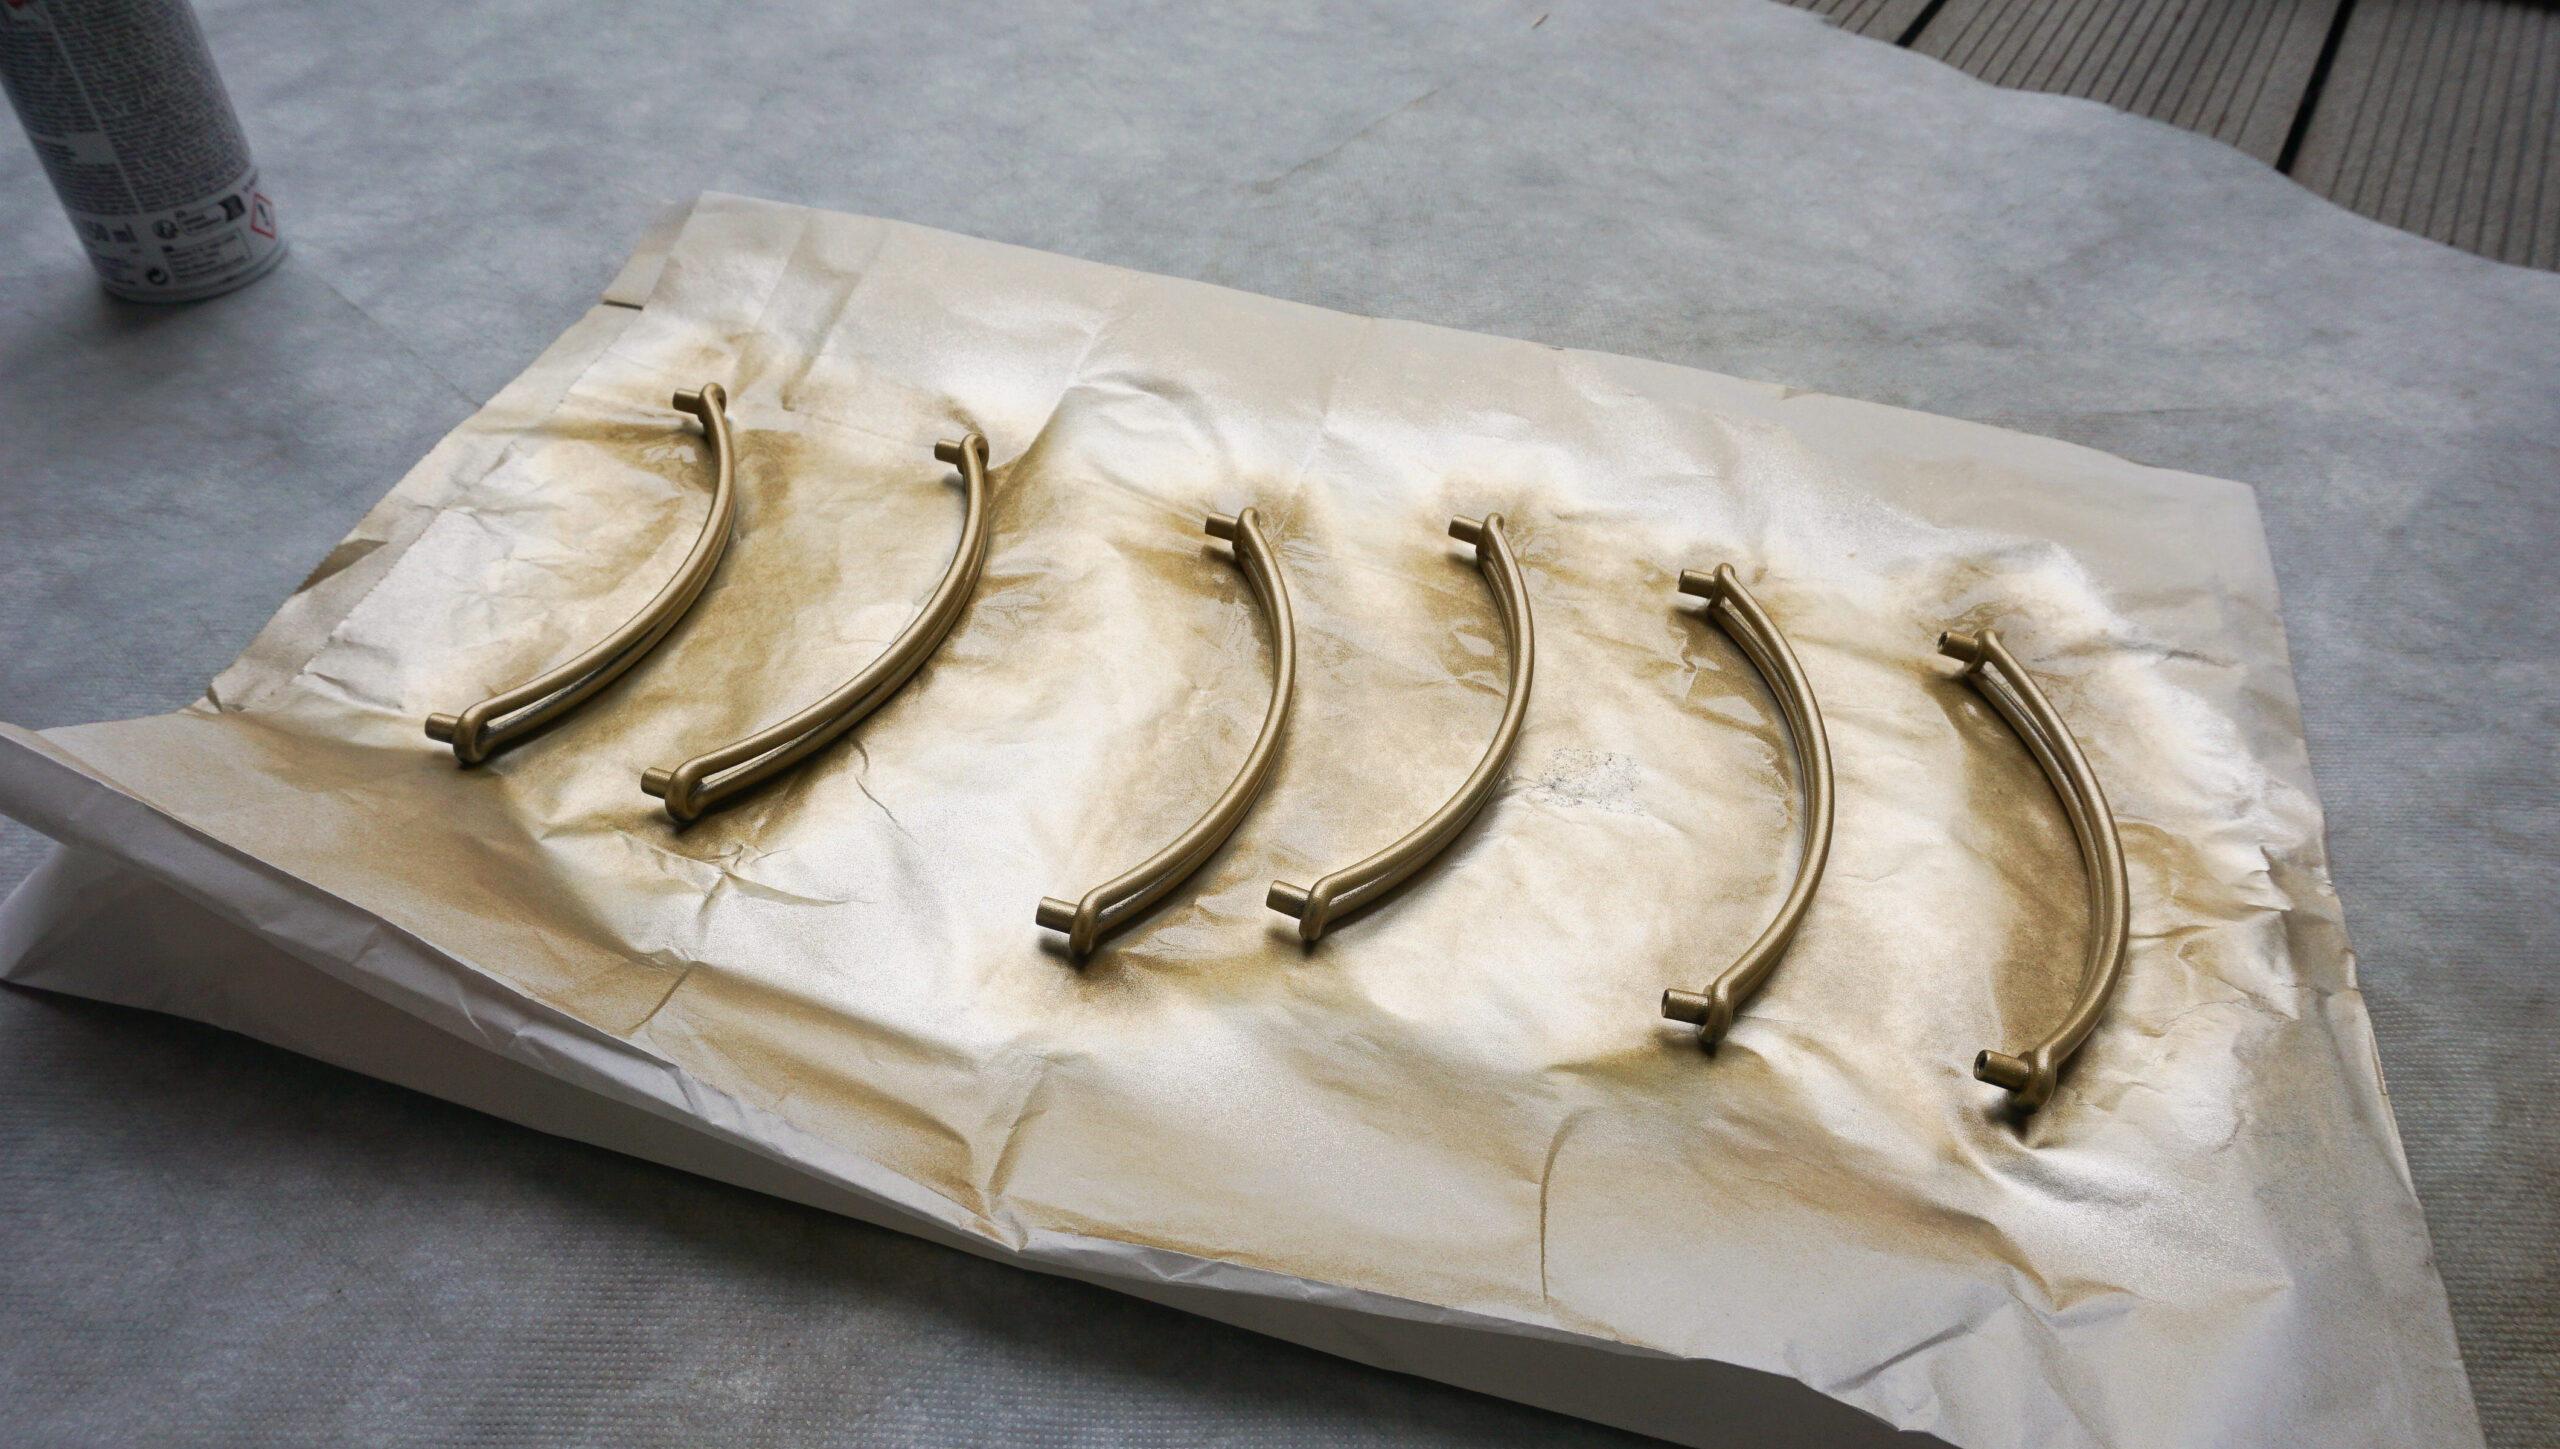
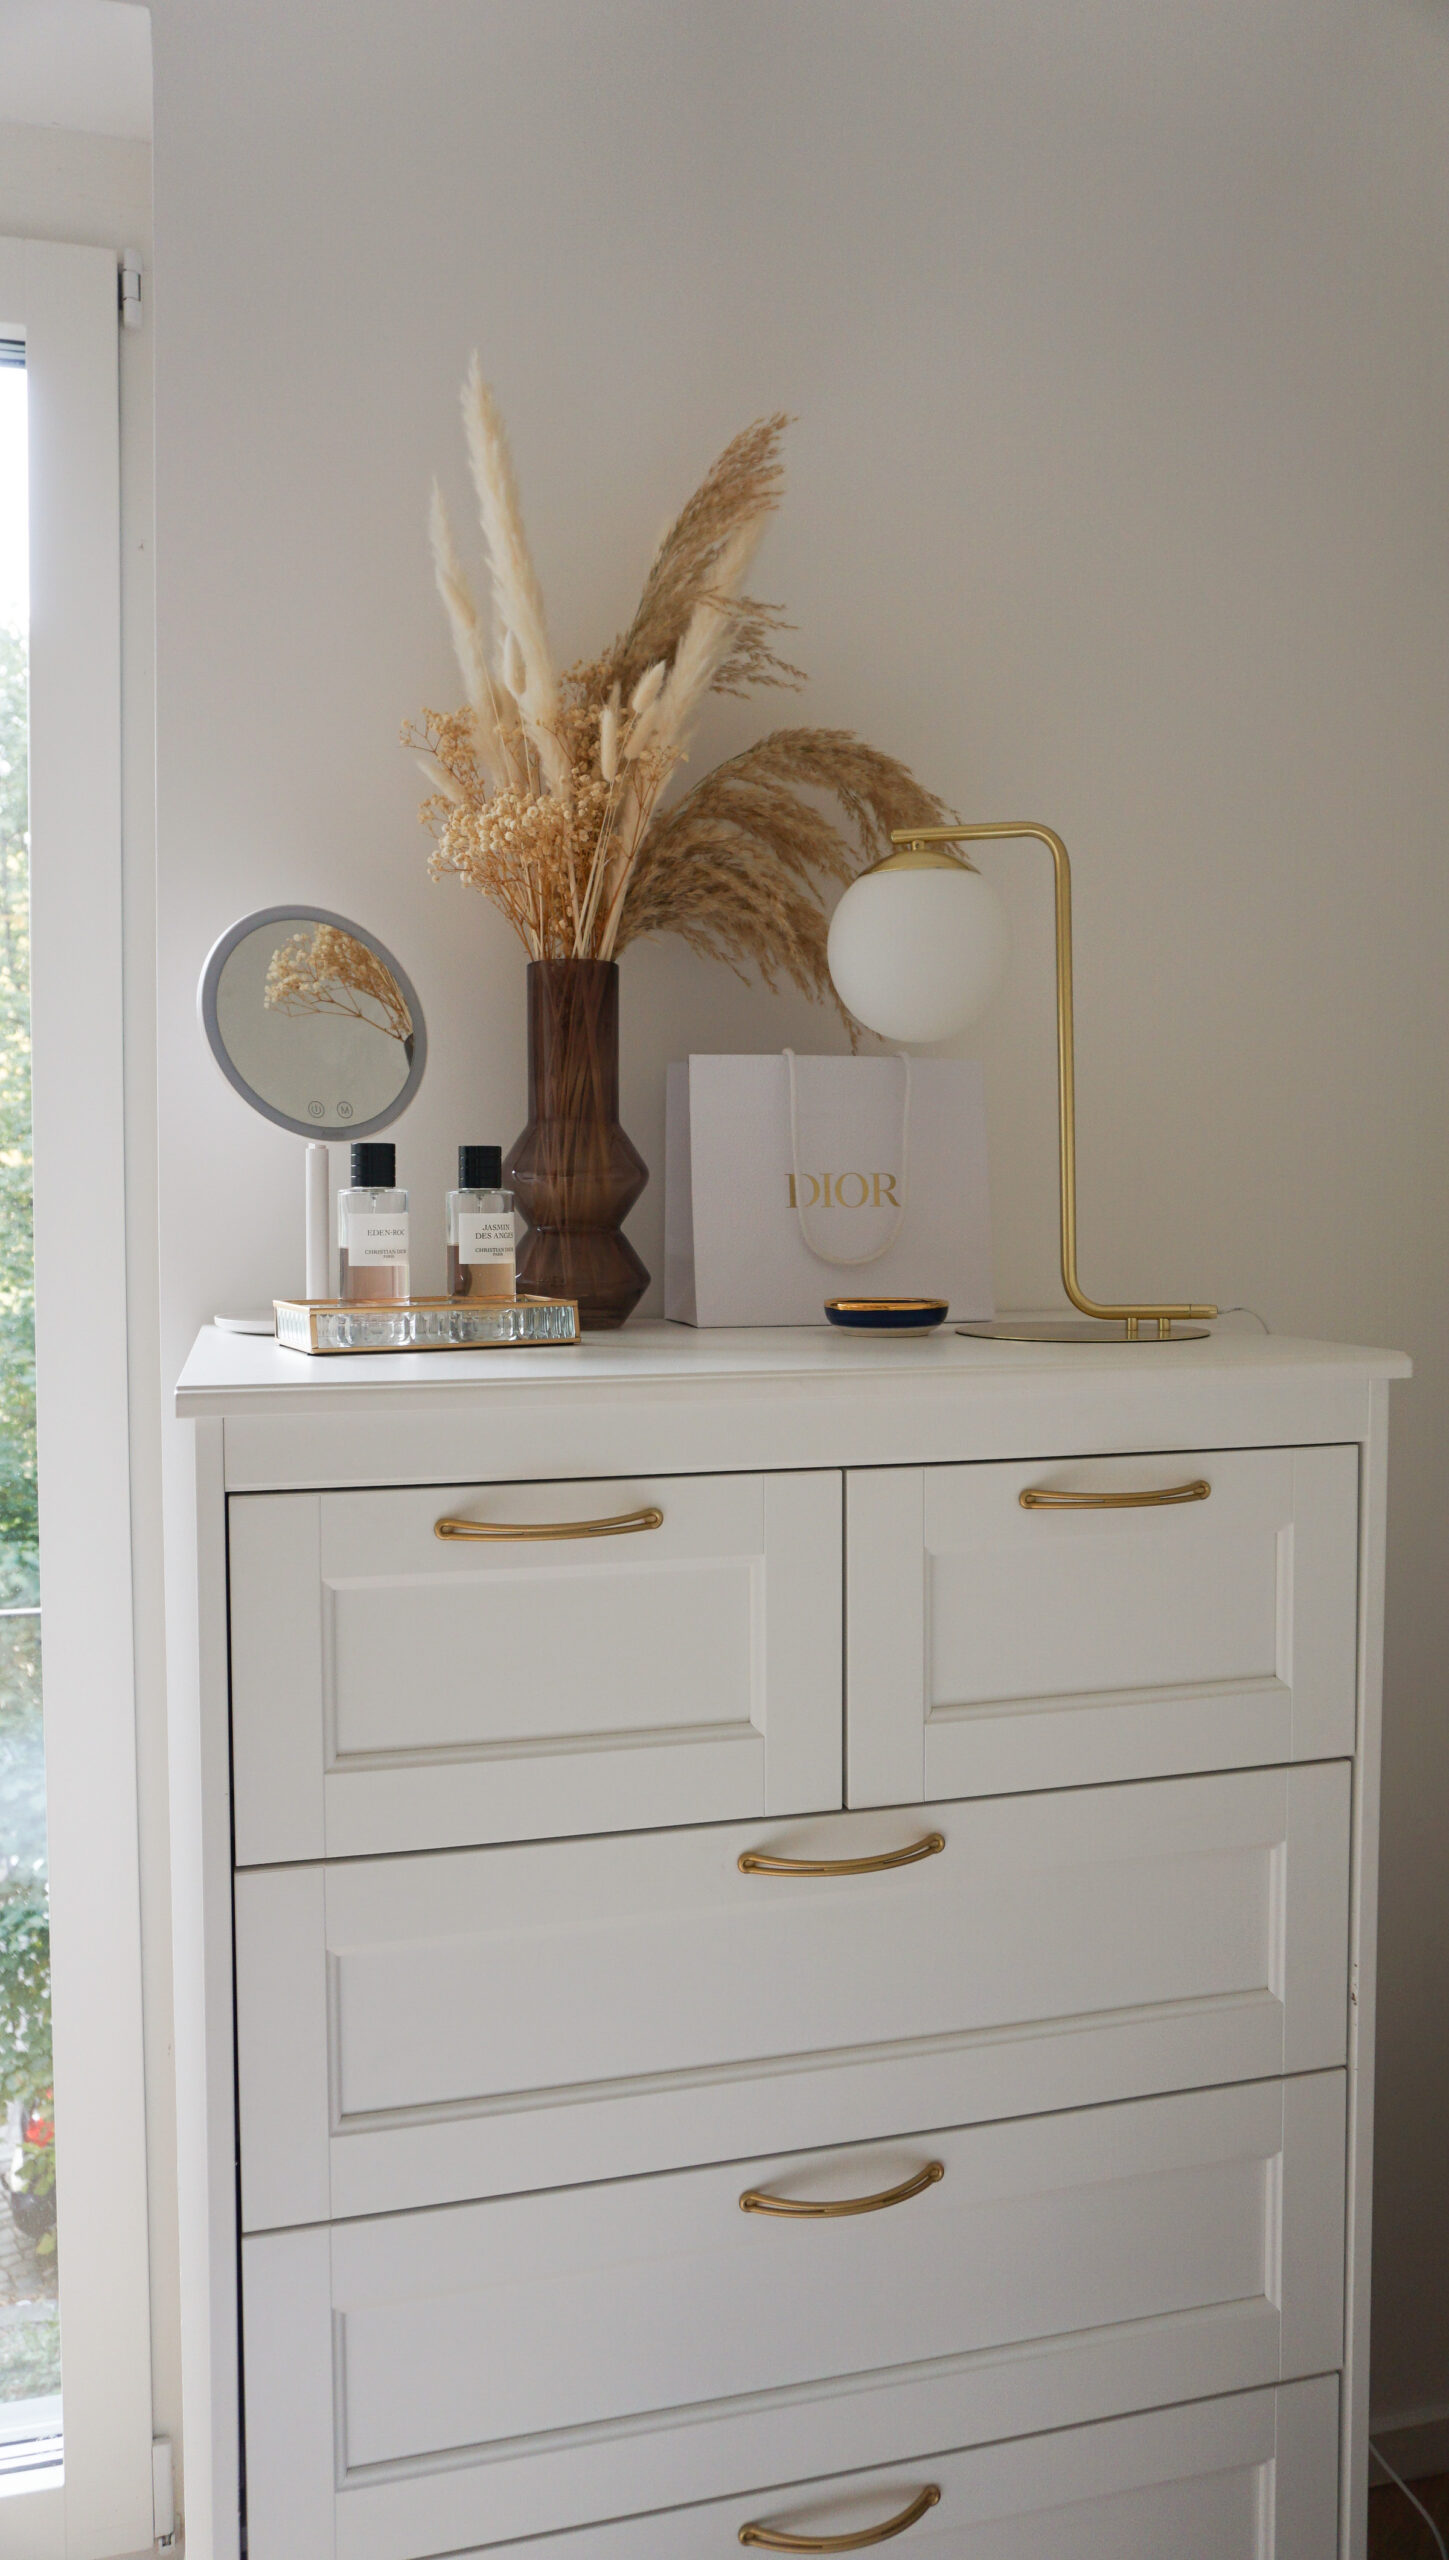
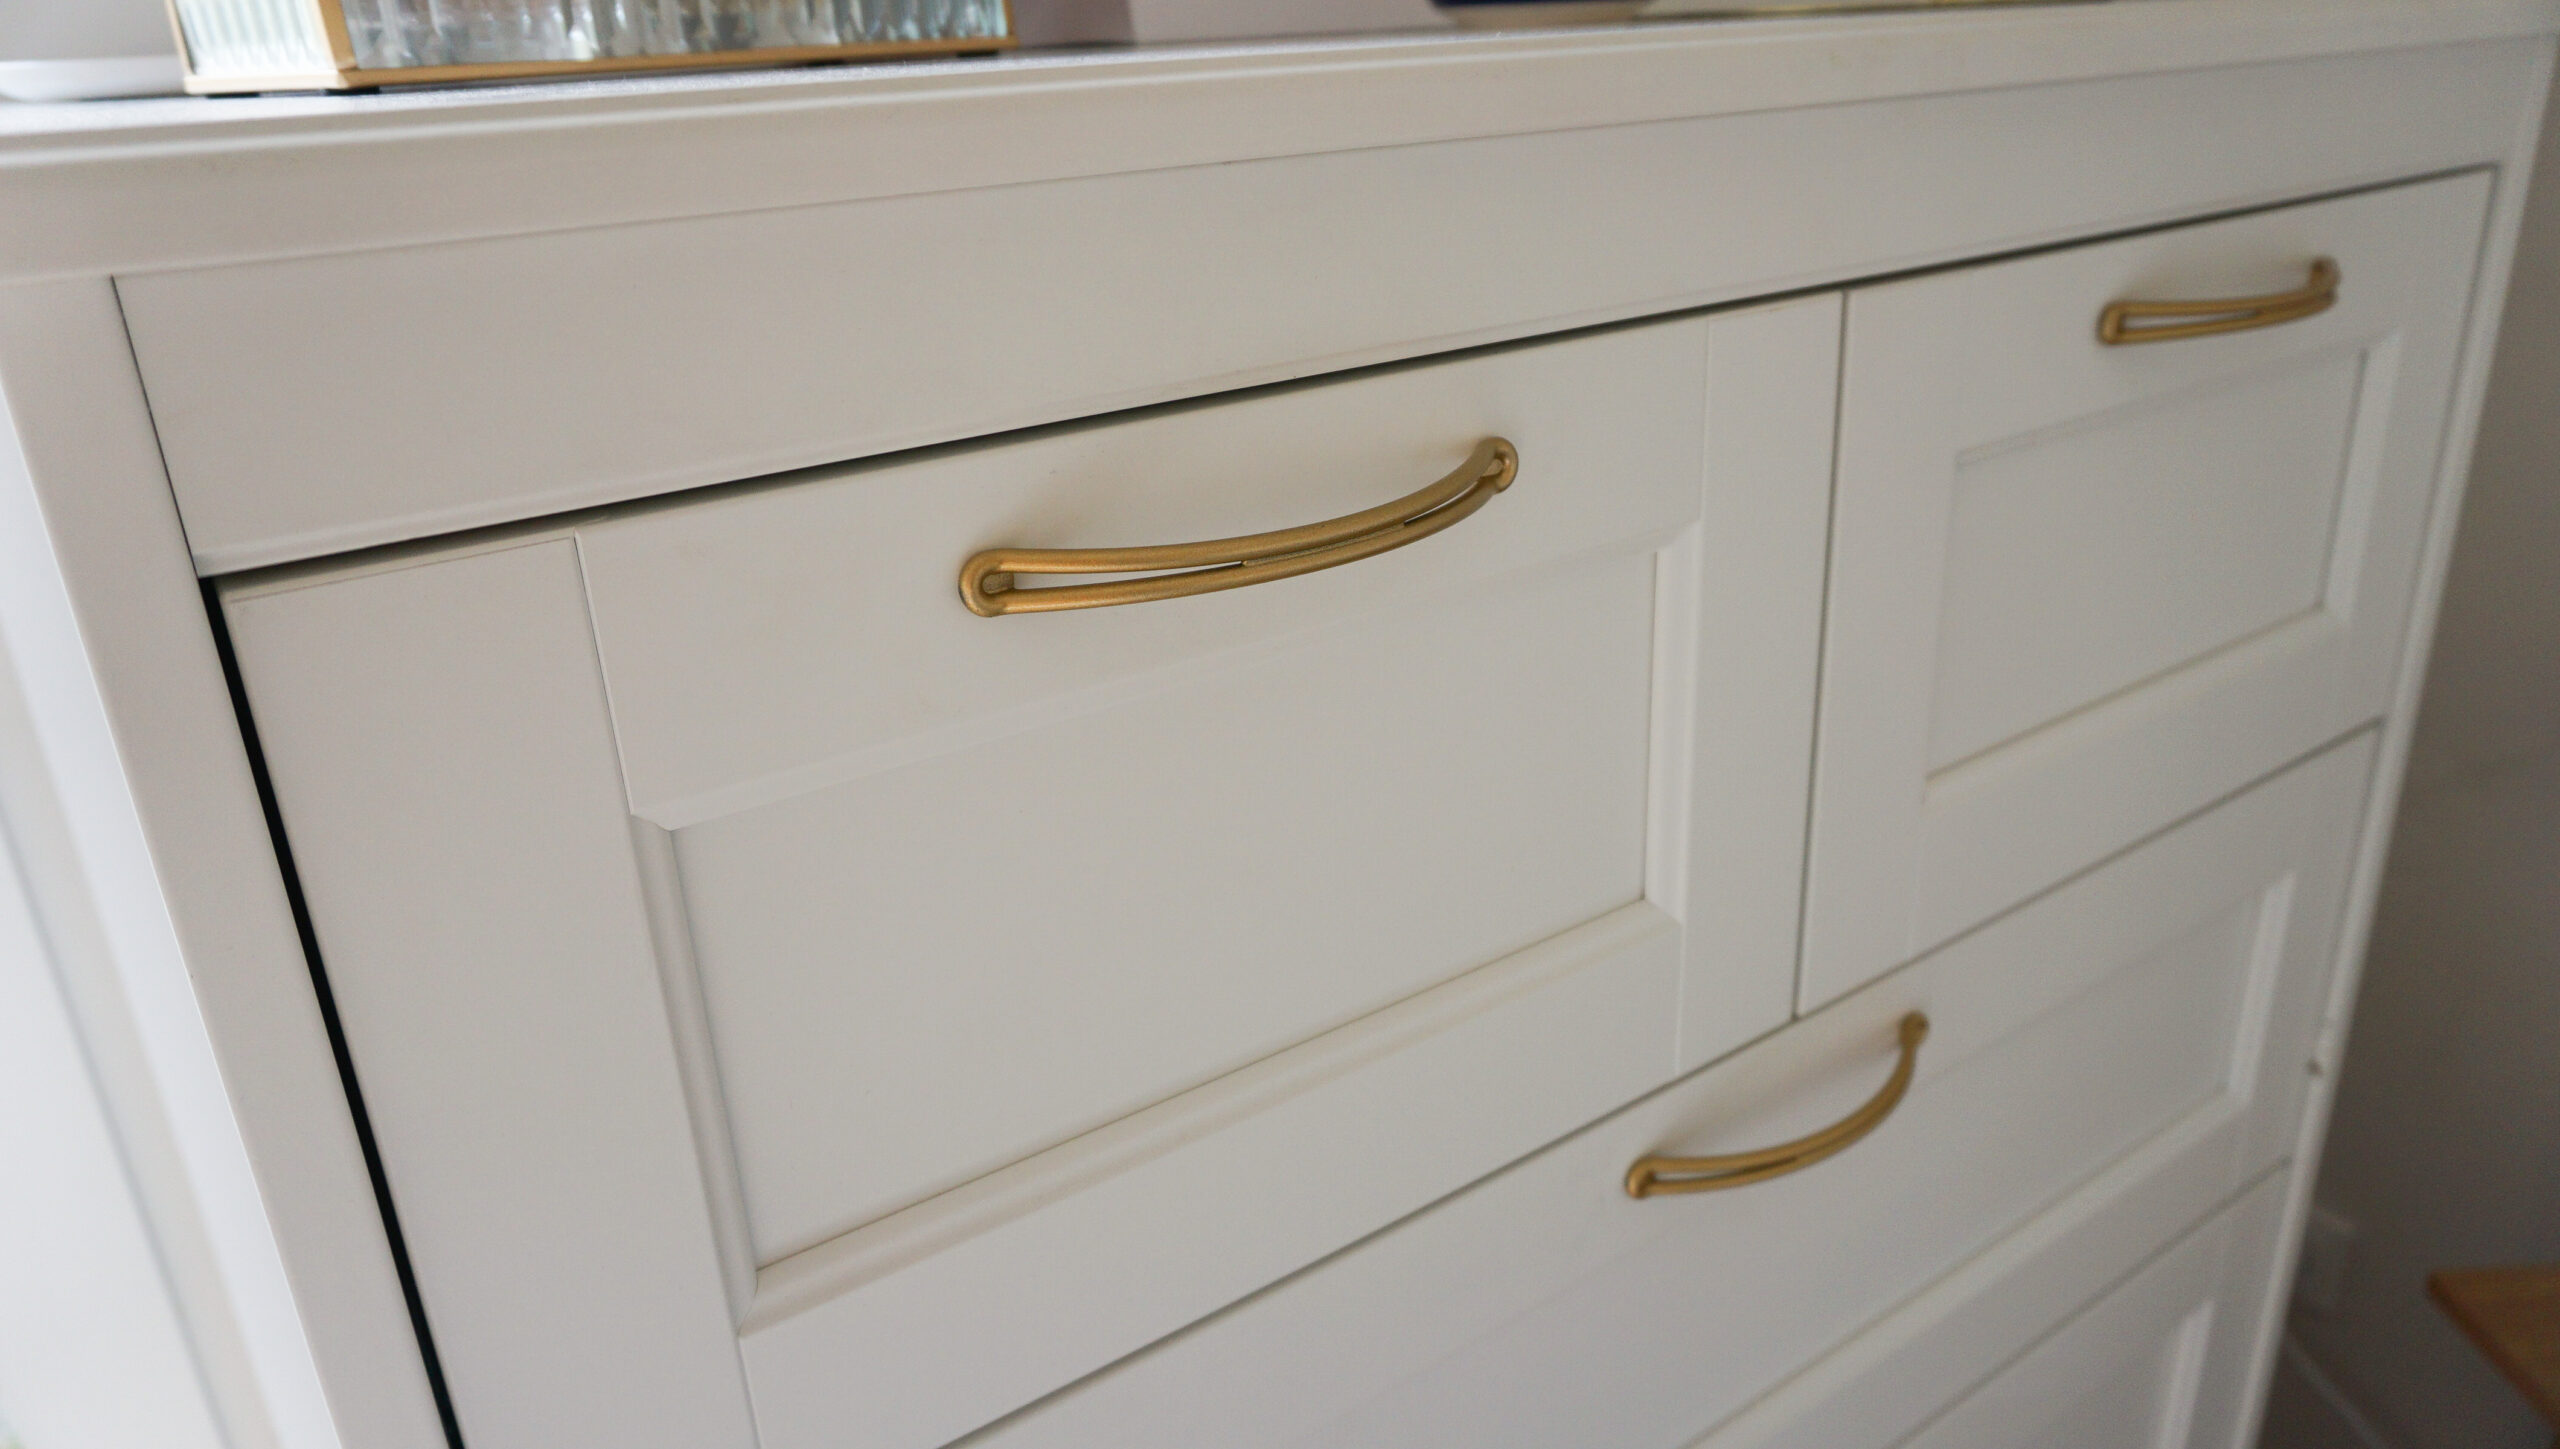
When working with paint, especially sprays, it’s essential to avoid using them indoors. Conduct your DIY project on your balcony, in your garden, or any well-ventilated area outside. So, I decided to use the extra handles that came with the dresser and sprayed them with a luxurious gold finish to match my decor. I applied two coats of gold paint and one top coat, which helps prevent the color from fading on the handles. Ensure you allow ample time for the paint to dry between coats and after the fixing spray, ideally for several hours. Tip: If your handles have a very smooth surface, consider lightly sanding them before spraying to ensure better adhesion.
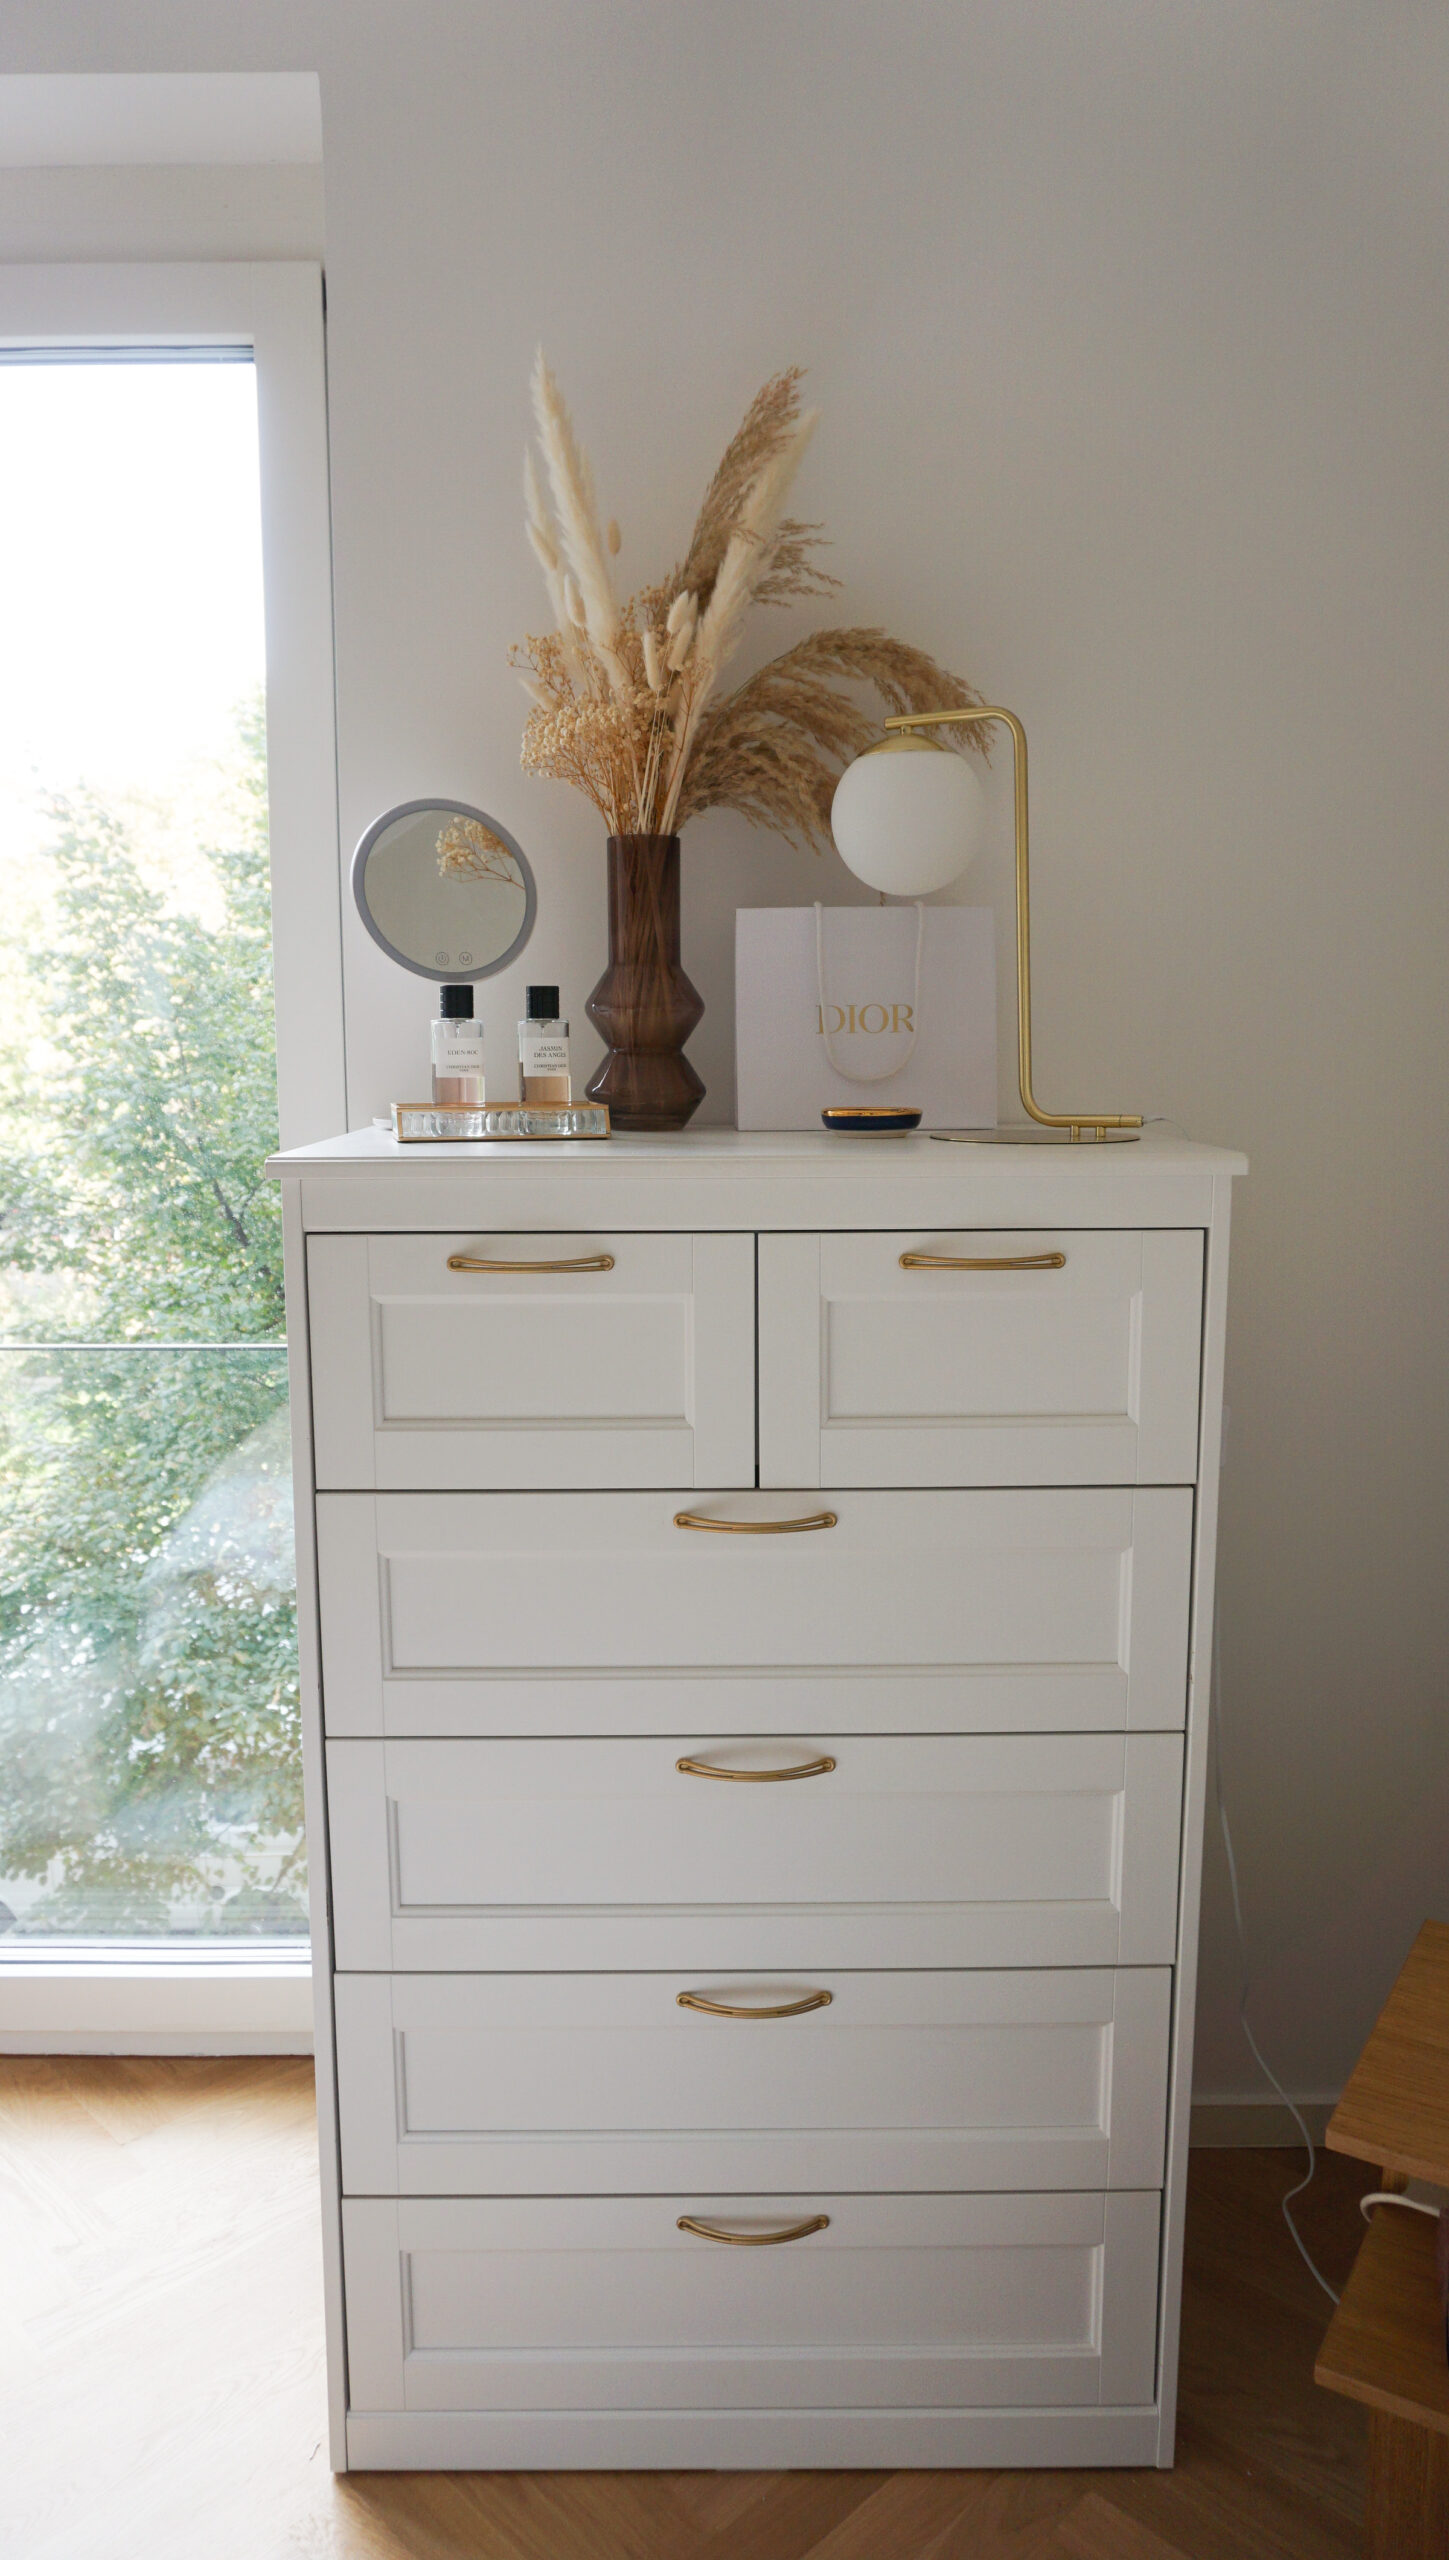
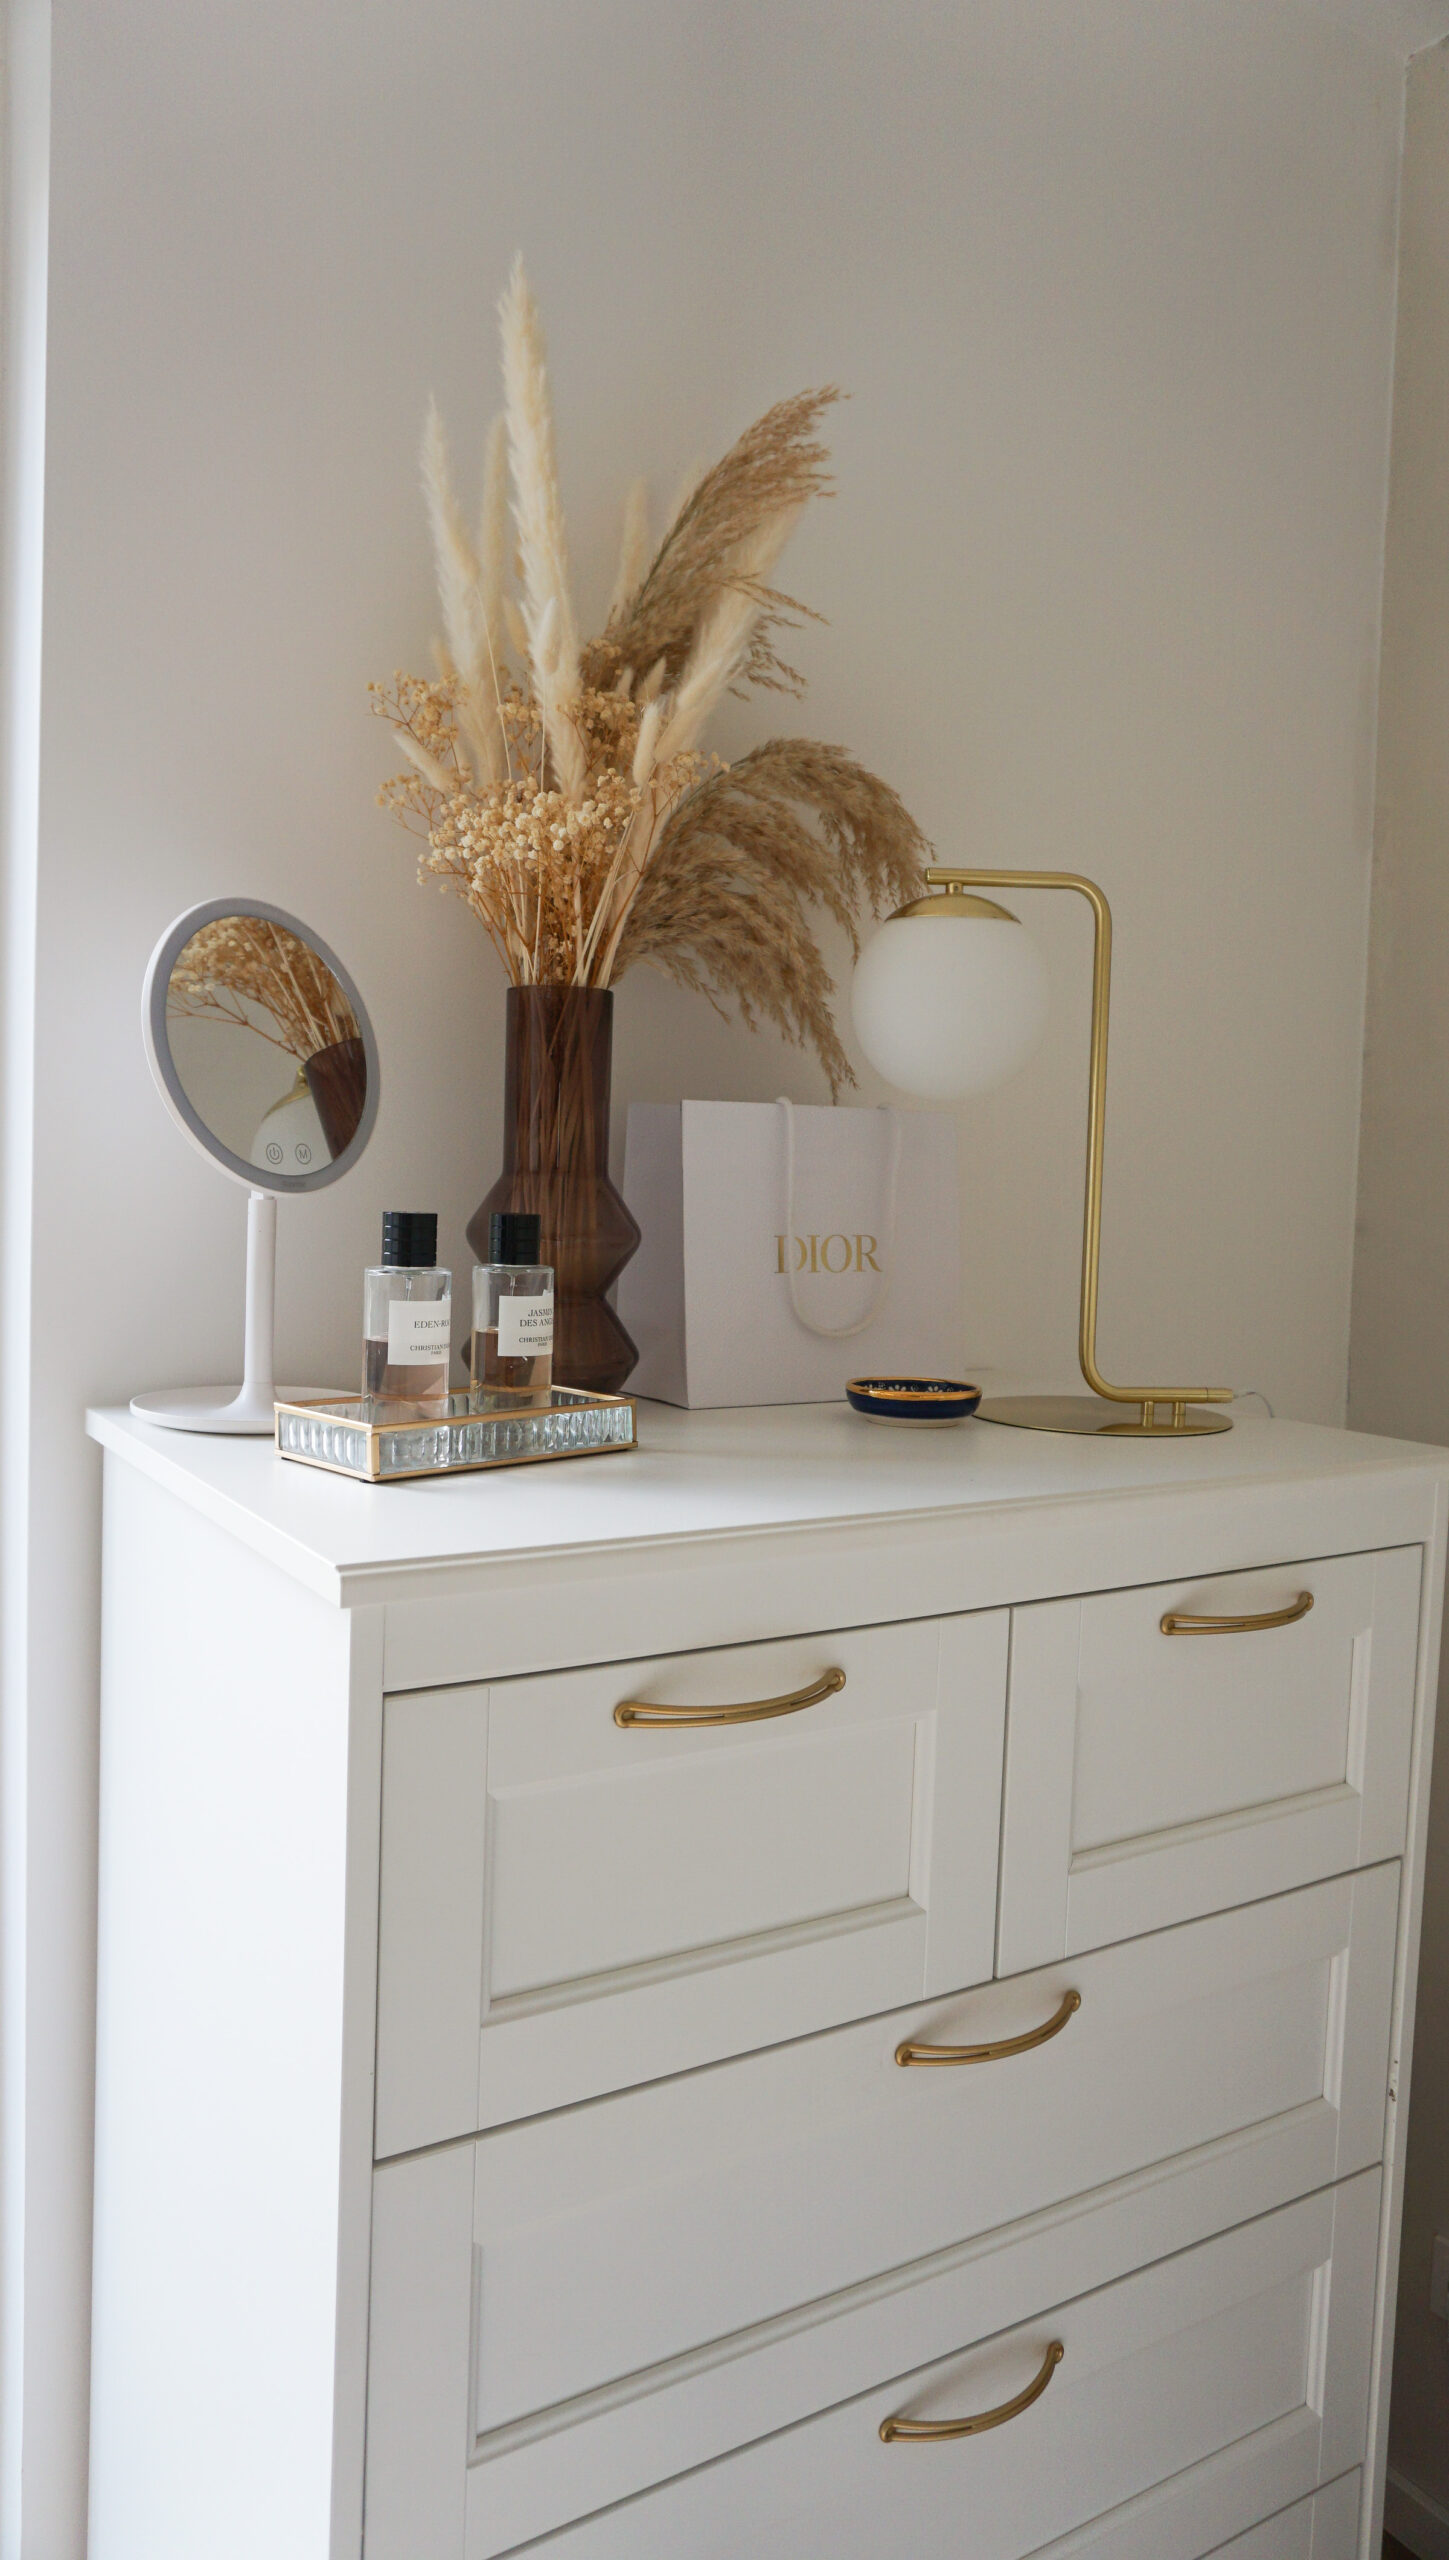
Step 4: Assemble the Dresser and Add Your Personal Touch
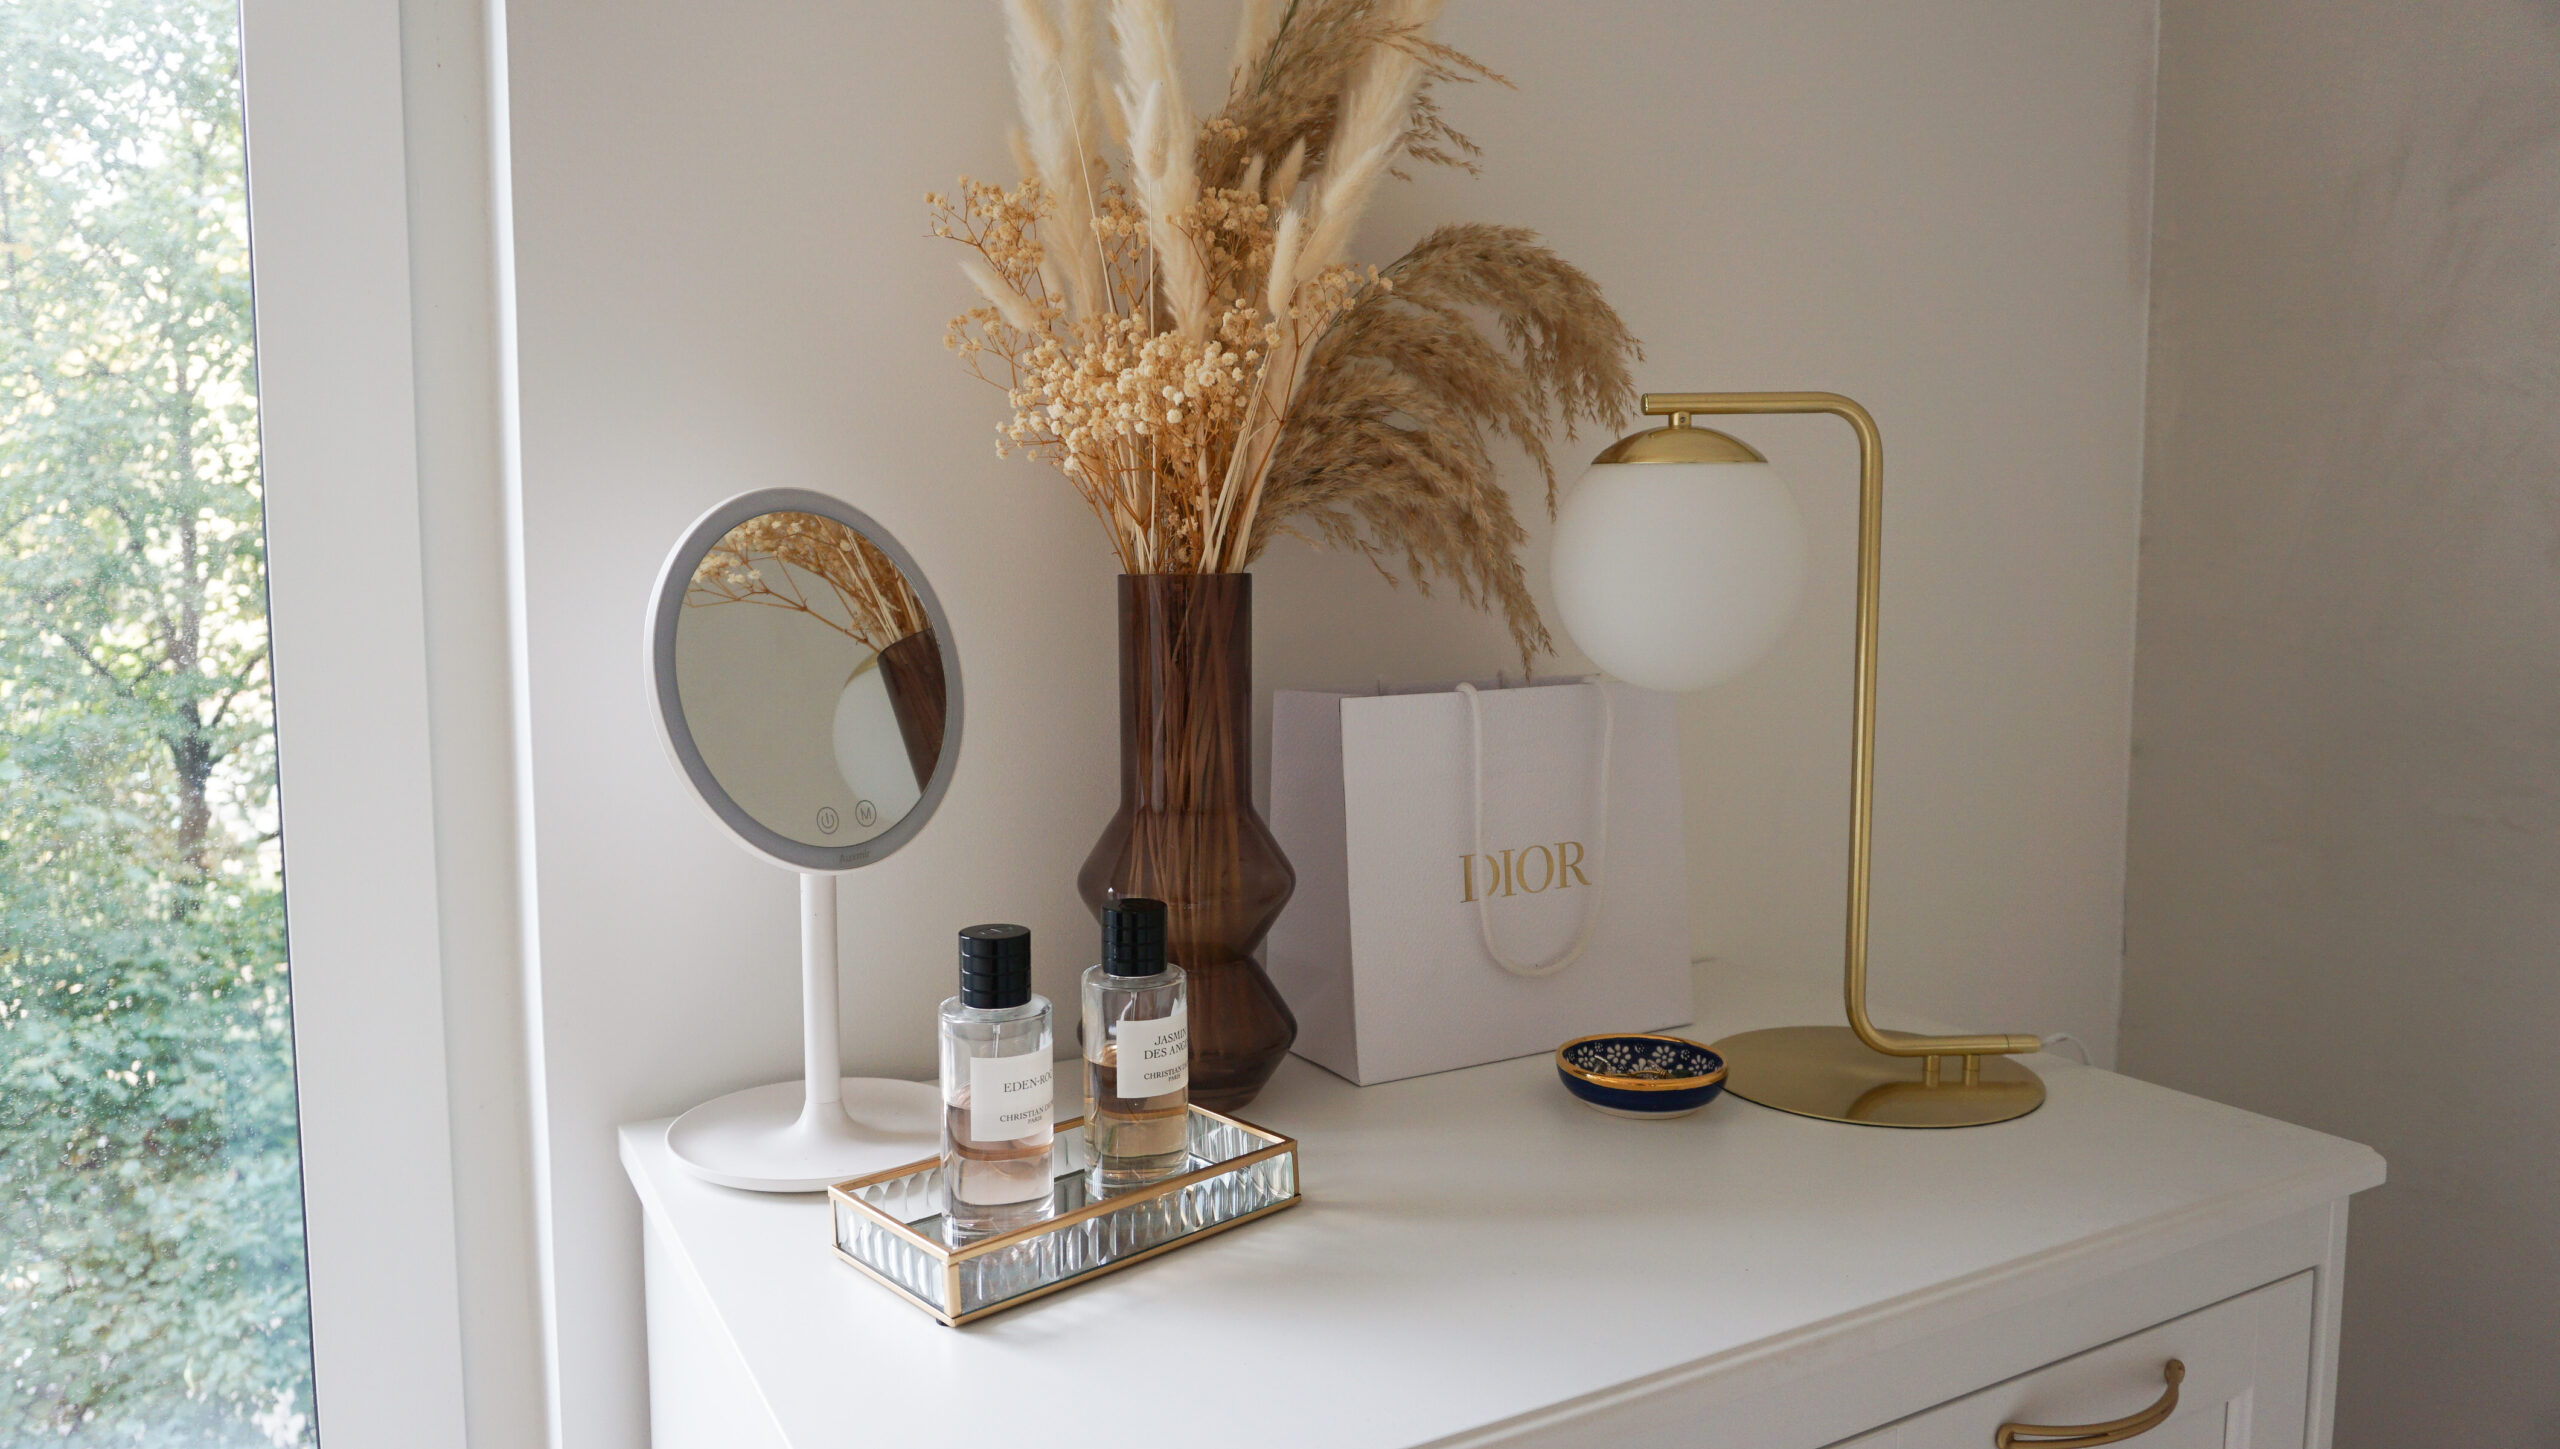
Minimal effort, maximum impact! Didn’t I promise you that? I’m genuinely thrilled with the results of this DIY project; it has given my dresser a luxurious upgrade that cost me approximately €15 in total. I highly encourage you to give it a try. If you’re feeling lazy, you can even purchase pre-made golden handles and replace your dresser’s existing ones for a quick and easy transformation.


No Comments